Frequently asked questions

Events management
You must specify a type to create an event. This is needed to track and see how many calls, events, tasks or appointments are scheduled or completed.
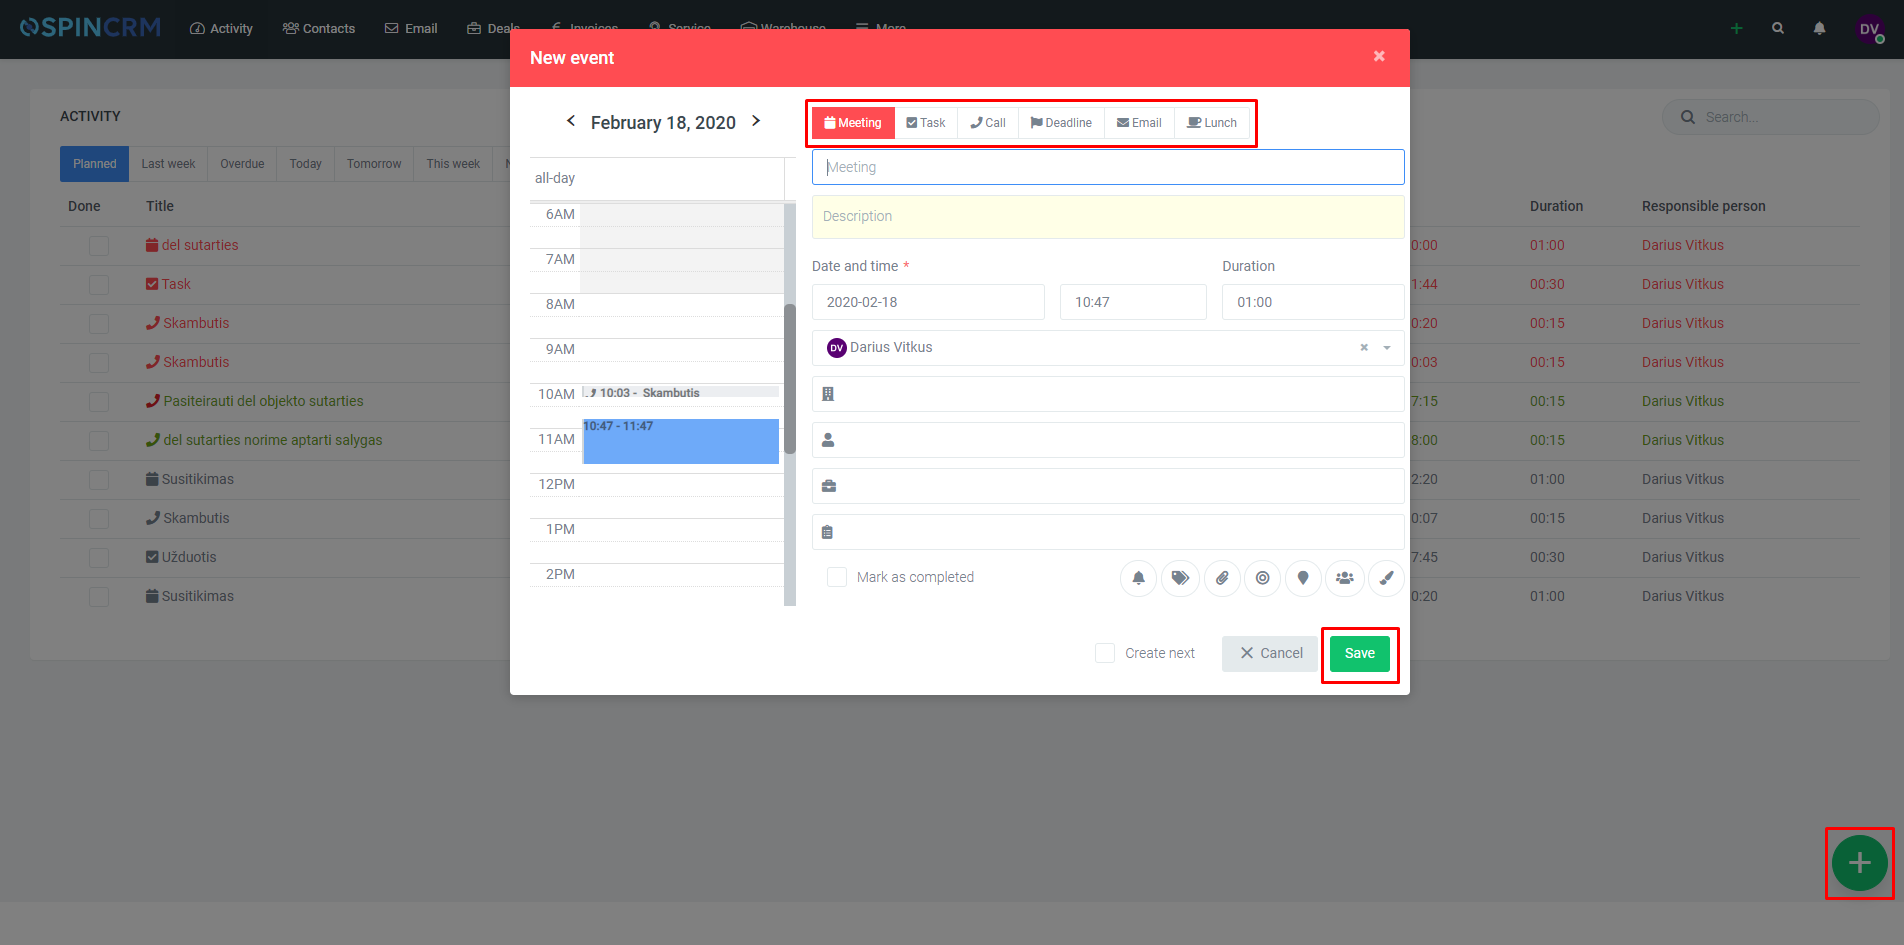
Creation of a new event
1.Open up Activity or Calendar window.
2.Click on “+” sign on the bottom right corner.
3.In opened form, on top, choose event type;
4.After filling up form, click Save.
Editing event
1.Open Event which you want to Edit.
2.After editing, save changes clicking Save.

Deleting event
If you want to delete an event, follow these steps:
1.Open Event which you want to Delete.
2.In event window, on left bottom corner you will find button Delete.

Additional settings
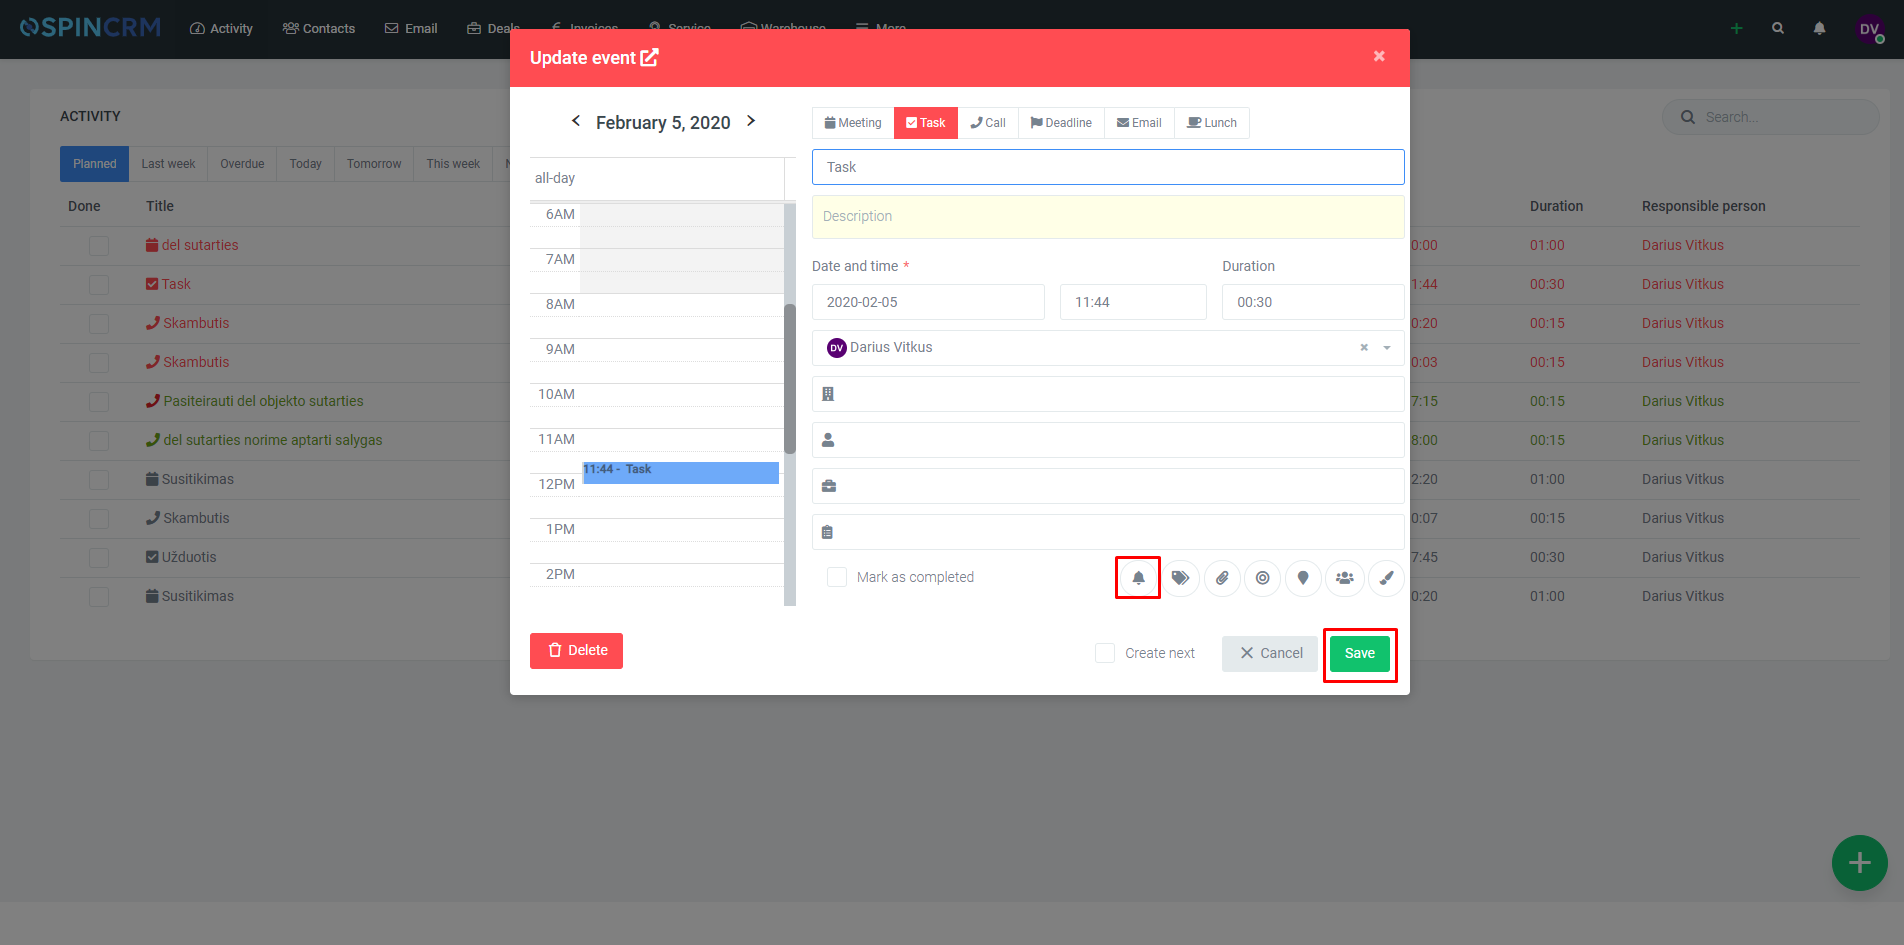
Followers
Each event can have followers, when you create an event, if you want your colleague to see the changes, the results of the event you need – you can mark which user will be assigned to the event as followers.
How to assign followers:
1.Click on “+” sign on the bottom right corner to create an event.
2.On the bottom, below form, you will find bell button. Click it and choose users you want to be followers of this event.
3.Click Save.
Tags
If you have few types of meetings that are somehow different and you want to mark those meetings to separate them, you can use the tags to mark the event that have different purpose.
If you want to add or create new tag follow these steps:
1.Click on “+” sign on the bottom right corner to create an event.
2.On the bottom icon list click Tag icon and choose from the list of tags, or create a new one writing it and pressing Enter key.
3.Click Save.

Next time you want to use created tag, choose it from a list of tags.
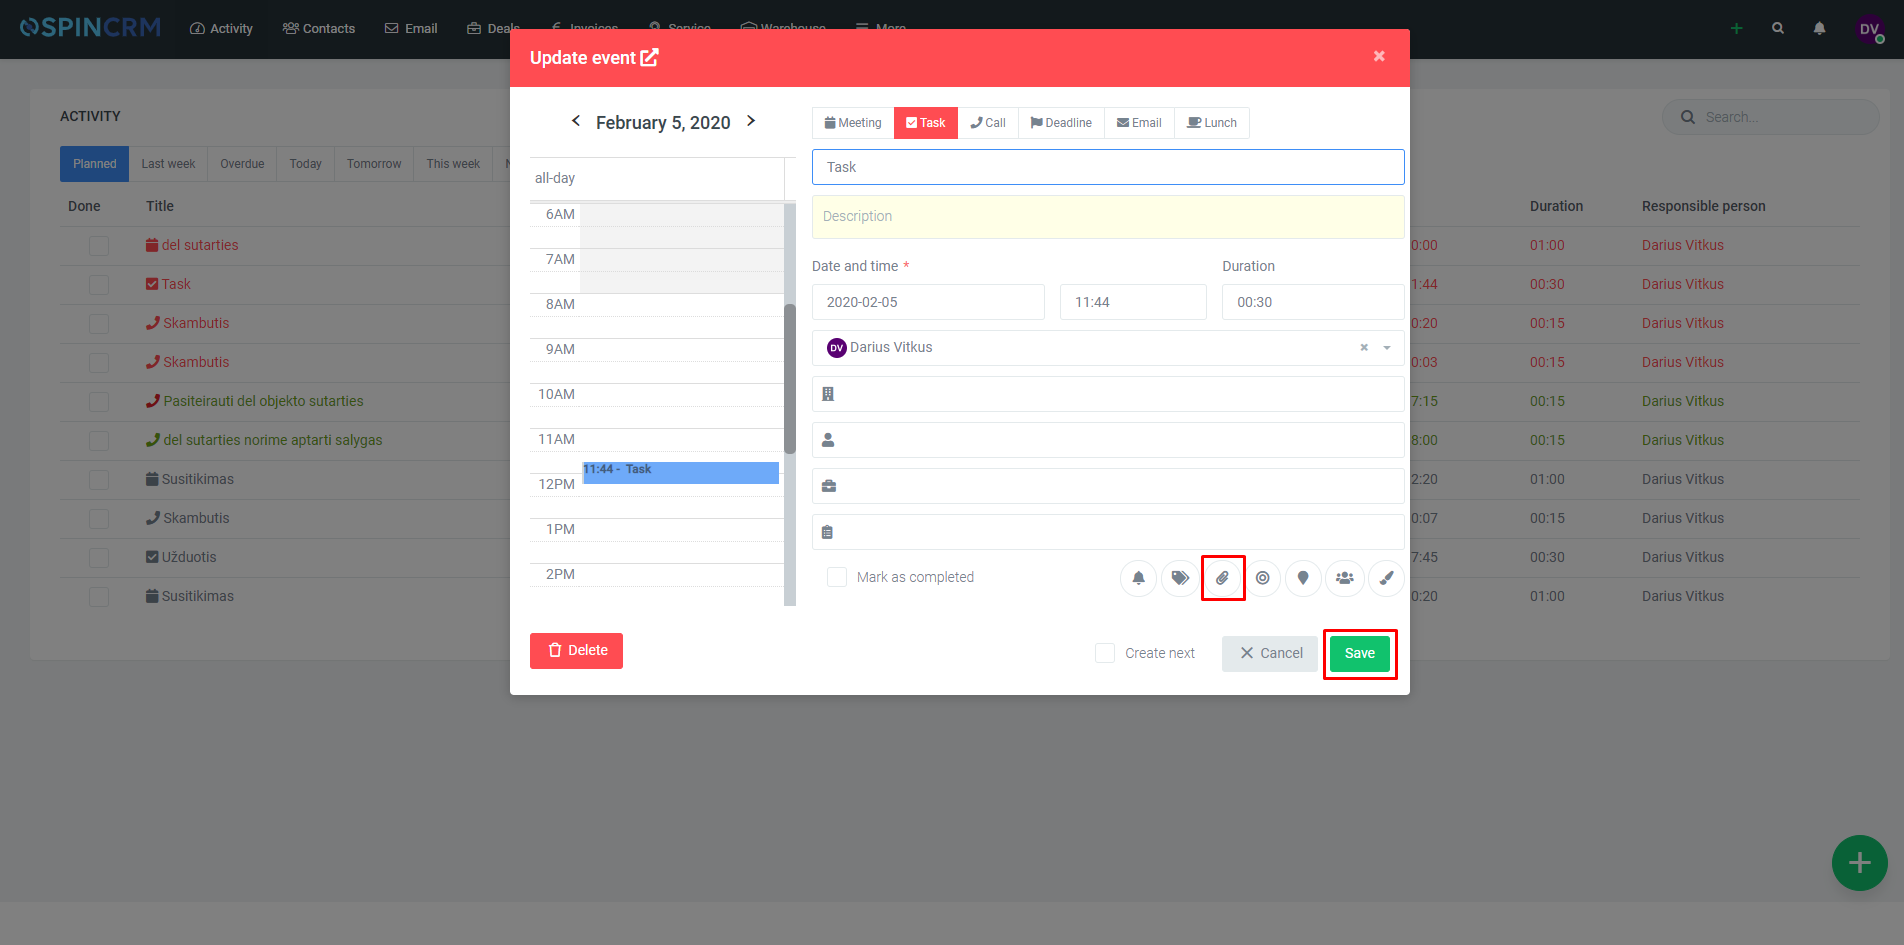
Add file
If you want to add a file to created event, follow these steps:
1.Click on “+” sign on the bottom right corner to create an event.
2.On the bottom icon list click paperclip icon and choose wanted file from your device.
3.Click Save.
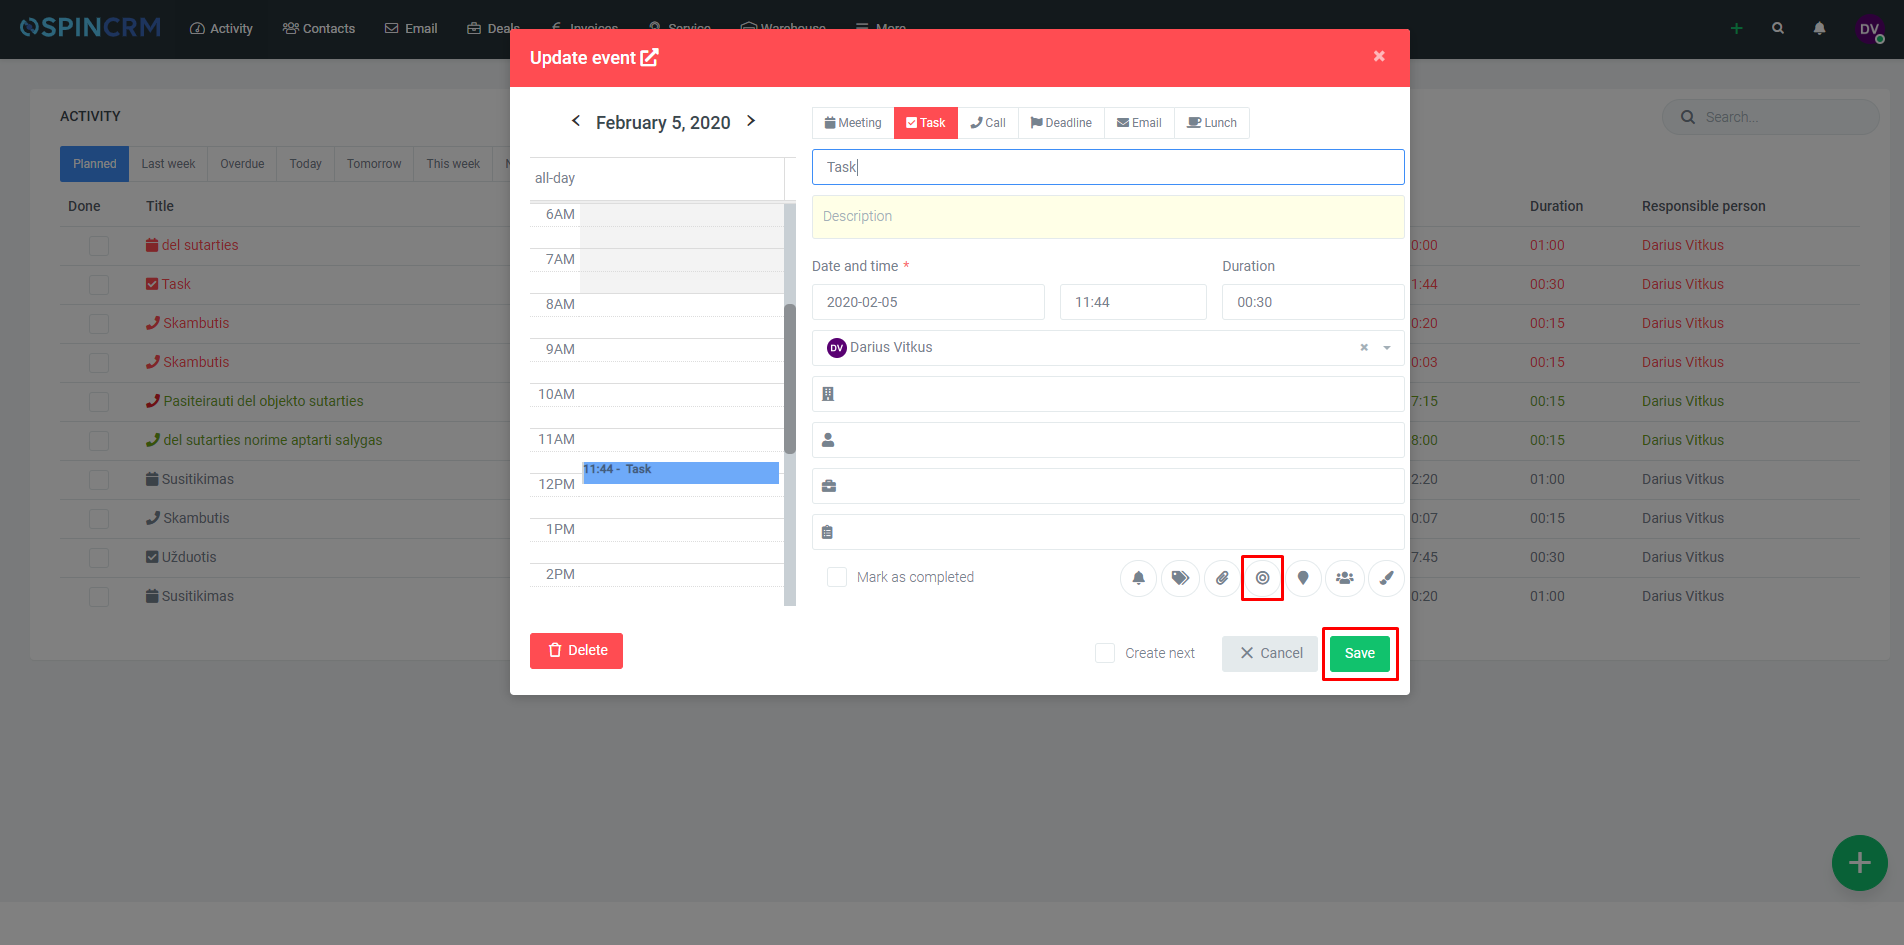
Lead
If an event involves a lead, you can assign it by following these steps:
1.Click on “+” sign on the bottom right corner to create an event.
2.On the bottom icon list click target icon and choose wanted lead a list.
3.Click Save.
Location
For convenience, you can specify the location where the event will take place – address.
1.Click on “+” sign on the bottom right corner to create an event.
2.On the bottom icon list click pin icon.
3.New field in form will appear, where you will be able to enter address.
4.Click Save.

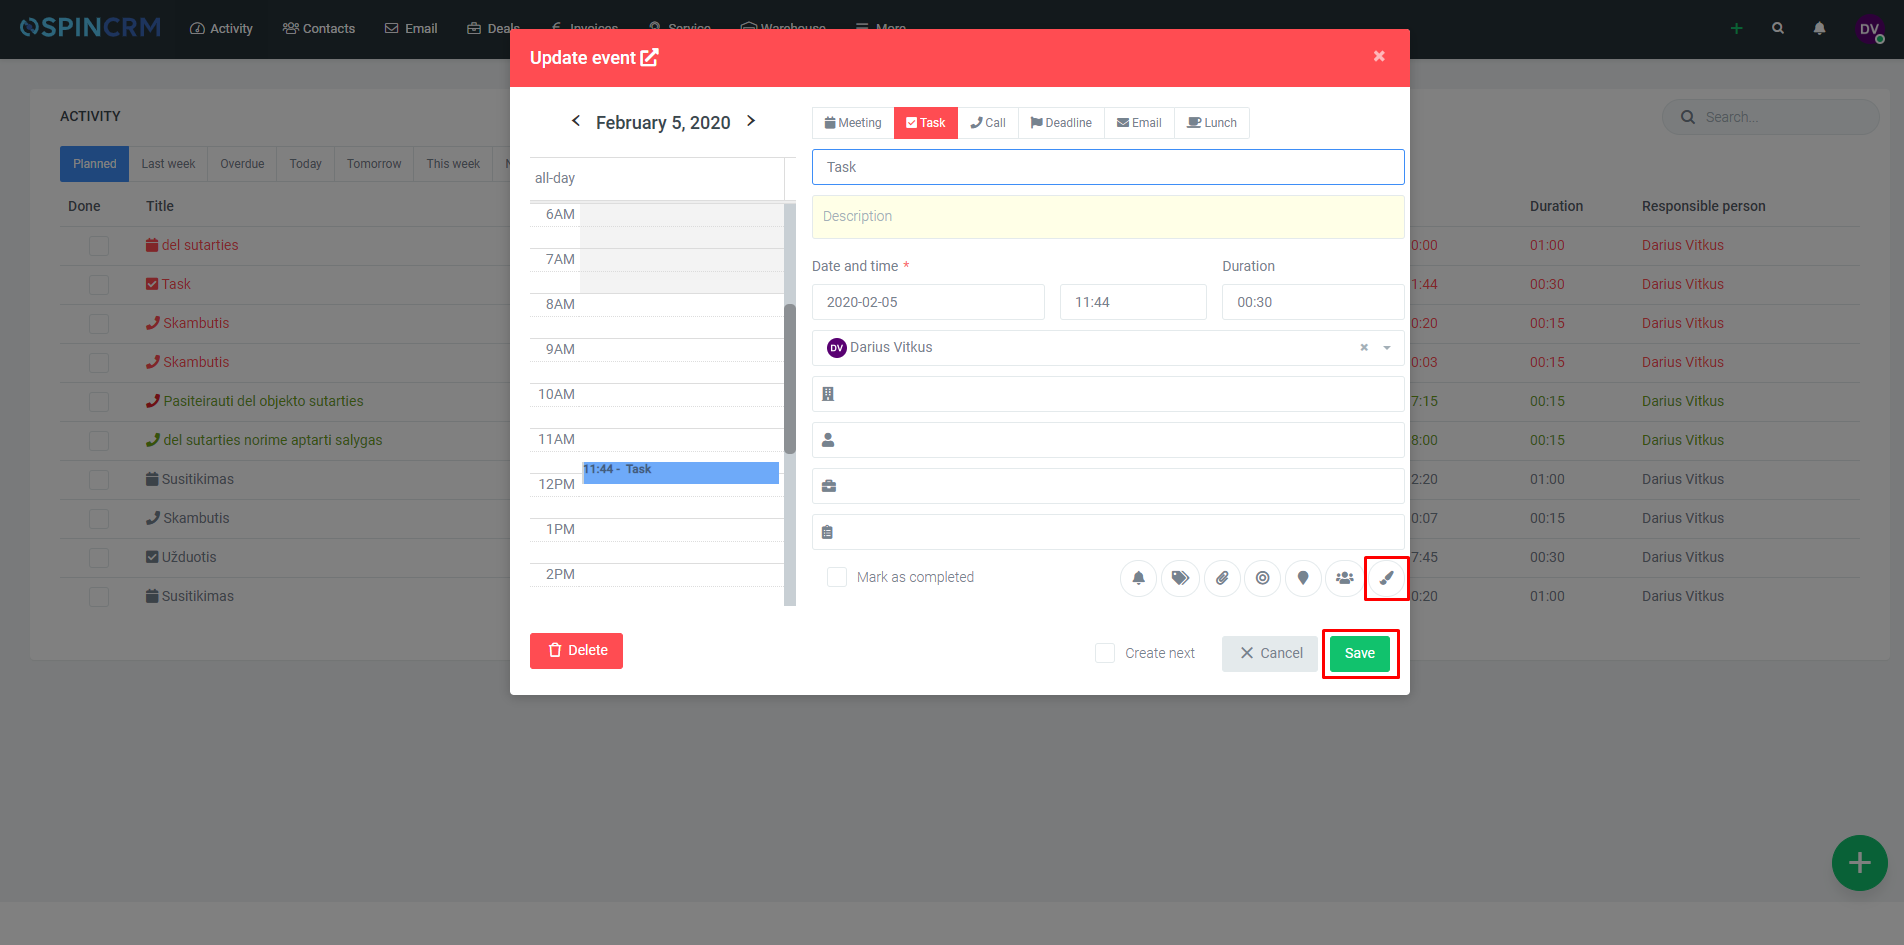
Color
Each event can have different types, so you can use colors to prioritize. You can use a color of your choice, such as red, to mark events as important and prioritized, and to make them stand out in Calendar.
To add a color to an event:
1.Click on “+” sign on the bottom right corner to create an event.
2.On the bottom icon list click brush icon and choose wanted color.
3.Click Save.